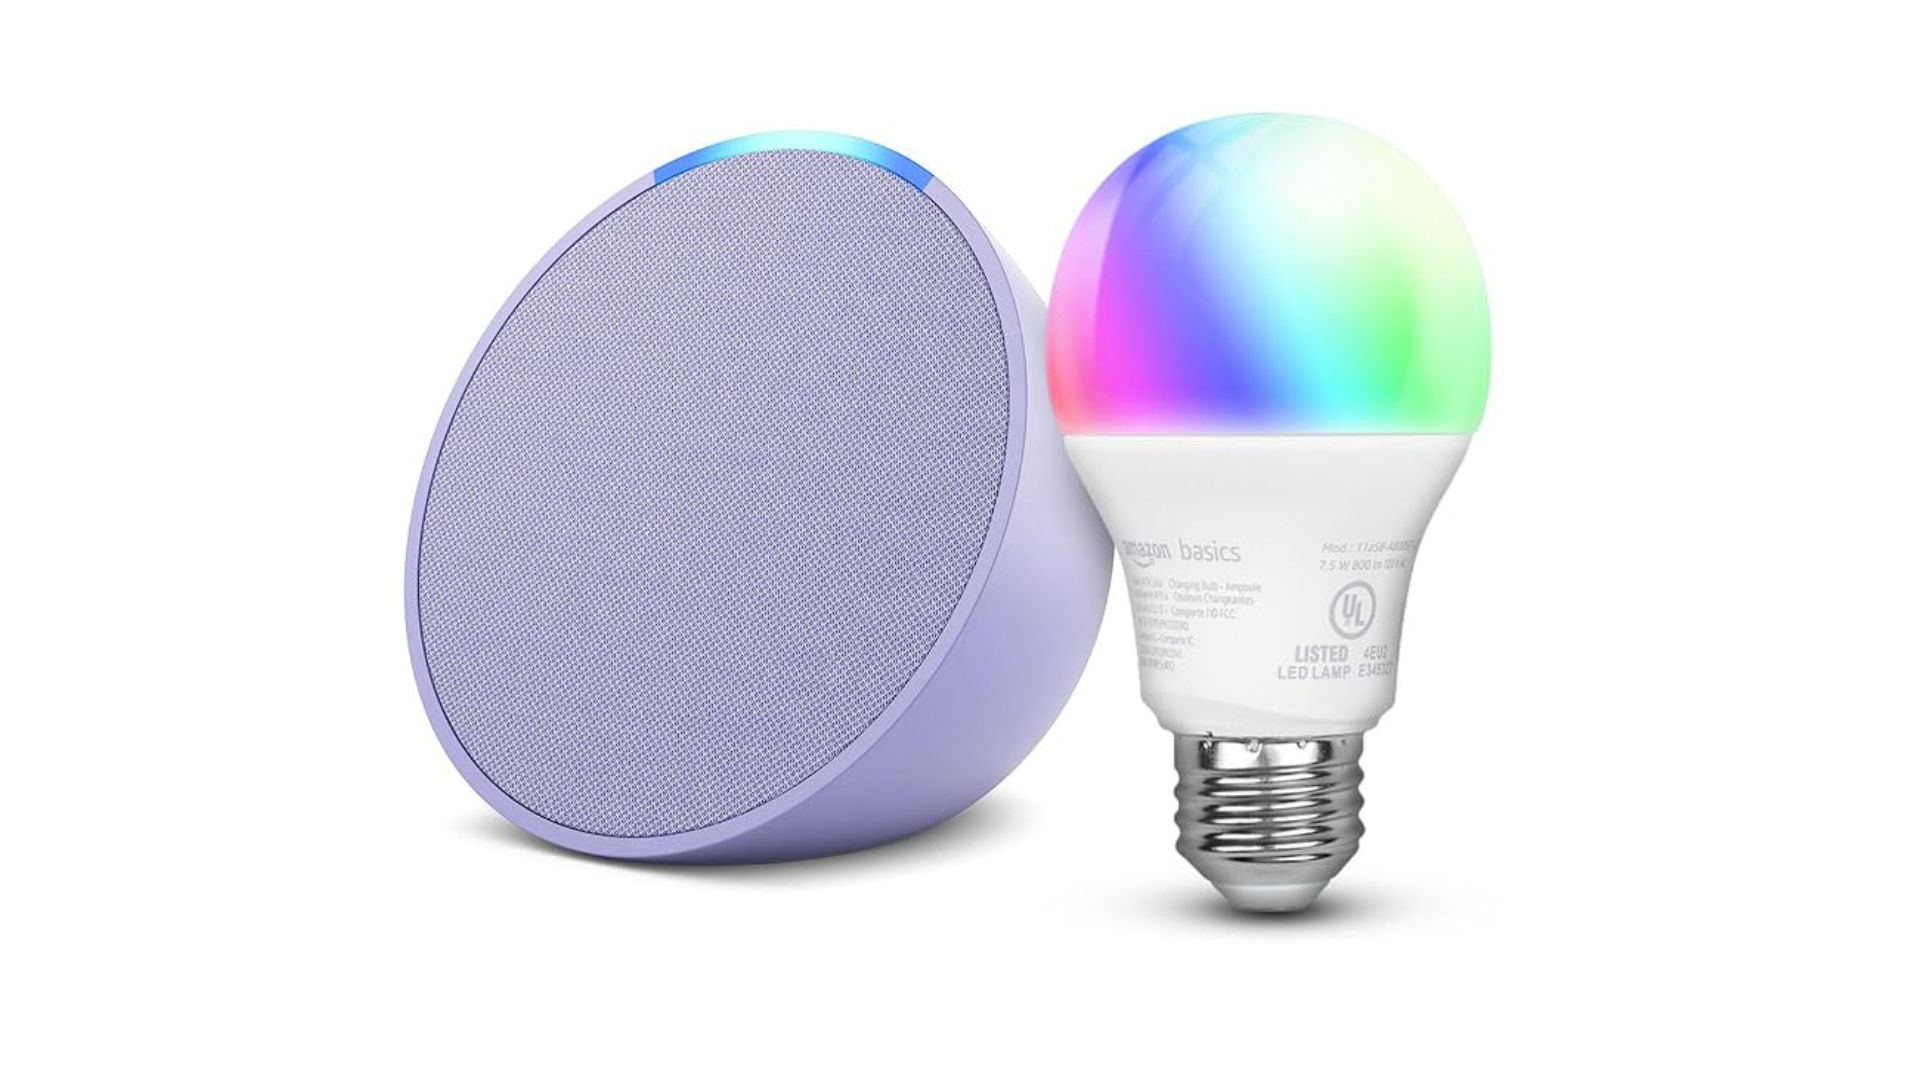
If you’ve ever wanted to make your home a little smarter, Amazon Basics Smart Light Bulbs are a simple, cost-effective way to start. In my experience, these bulbs not only brighten up a room but also bring the convenience of voice and app control right to your fingertips. That said, setting them up might feel a bit tricky at first, but I’m here to walk you through it, step by step, focusing on how to install Amazon Basics smart bulb, so you can start controlling your lights effortlessly.
Step 1: Preparing Your Space
Before you even touch the bulb, there are a few things to check:
- Wi-Fi Requirements: Ensure your smartphone is connected to a 2.4 GHz Wi-Fi network. These bulbs do not support 5 GHz networks.
- Bluetooth: Turn on Bluetooth, as it helps the initial pairing process.
- Bulb Socket: Confirm the socket is compatible and powered off before installation.
I like to test the socket with a regular bulb first to make sure the connection is solid—saves a lot of headache later.
Step 2: Installing the Bulb
Now here’s the fun part… screwing in the bulb!
- Simply twist the Amazon Basics Smart Bulb into the socket.
- Flip the switch to power on. The bulb should flash twice, signaling it’s ready for setup.
In my experience, sometimes the bulb might not flash on the first try. If that happens, turn it off and on rapidly 5–6 times to trigger the setup mode. It’s a quirky little step, but it works reliably.
Step 3: Setting Up in the Alexa App
Here’s where the magic begins:
- Open the Alexa app on your phone.
- Tap Devices → + → Add Device → Light → Amazon Basics.
- Scan the QR code on your bulb or packaging.
- Follow the on-screen instructions to connect the bulb to your Wi-Fi network.
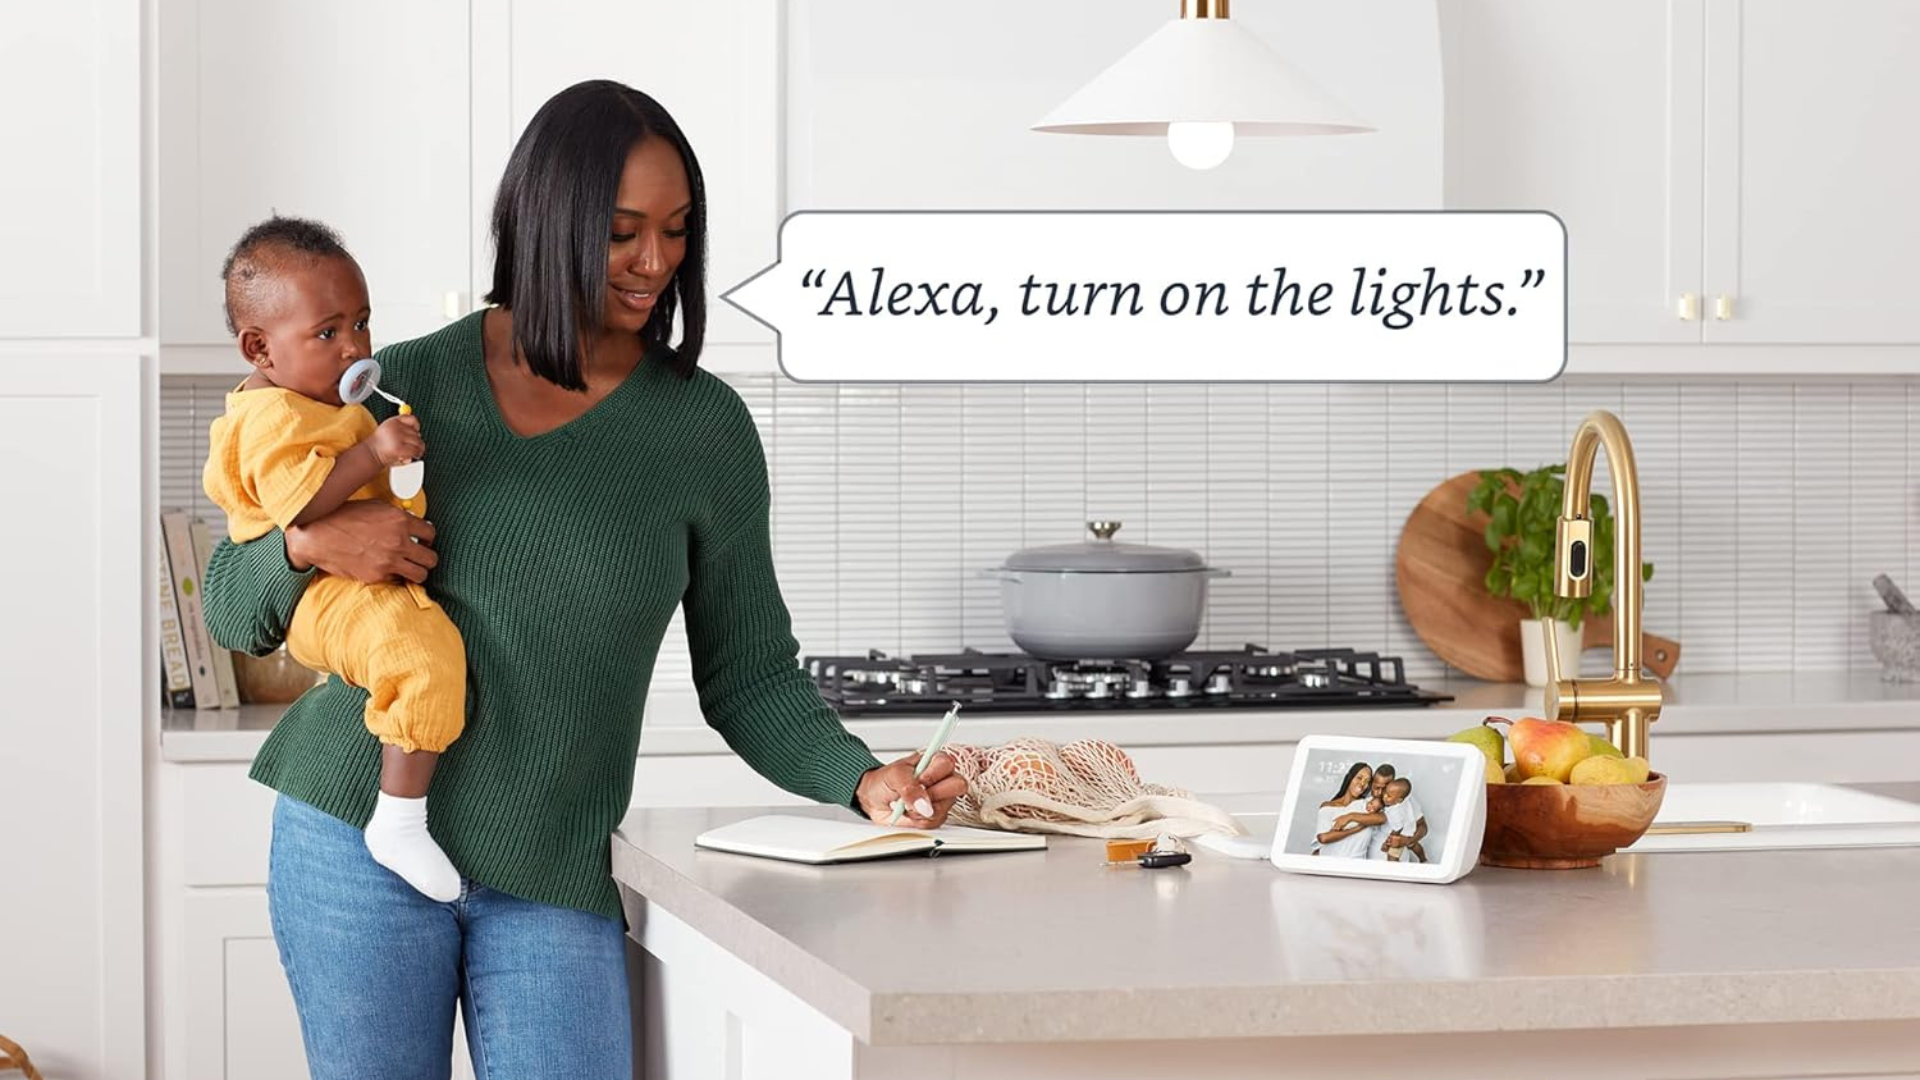
Once connected, you can control brightness, color, and power via the app or voice commands through any Alexa-enabled device.
I found grouping multiple bulbs in one room makes voice commands like “Turn off living room lights” much smoother. It’s a tiny convenience that feels surprisingly high-tech.
Step 4: Advanced Tips & Features
- Voice Control: Simple commands like “Alexa, dim the bedroom light to 50%” work seamlessly.
- Scheduling: Set routines in the Alexa app for automatic on/off schedules.
- Color Settings: Adjust colors to match moods—warm tones for relaxation, cool tones for focus.
I set up three bulbs in my study and created a “Work Mode” routine. Every weekday at 8 AM, the bulbs turn on with a bright, white light—boosting my focus instantly. On the flip side, “Relax Mode” dims the bulbs to a soft amber by 8 PM. Simple, yet highly effective.
Step 5: Troubleshooting Common Issues
- Bulb Not Flashing: Rapidly toggle the switch 5–6 times.
- Wi-Fi Problems: Double-check that you’re on the 2.4 GHz network. Some routers combine 2.4 and 5 GHz bands—separating them often resolves issues.
- Factory Reset: Turn the bulb off and on 5 times; on the 6th cycle, it flashes 5 times then twice, ready to reconnect.
Setting up an Amazon Basics Smart Light Bulb is easier than it seems. With the right prep and a few simple steps, you can enjoy smart lighting, voice control, and custom routines in minutes. Ready to transform your home lighting? Try it today and experience the convenience firsthand.
If you found this guide helpful, subscribe to our newsletter for more smart home tips and tricks!

FAQs
1. How do I install and set up an Amazon Basics Smart Light Bulb?
Follow the steps above: prep your Wi-Fi, install the bulb, pair with the Alexa app, and enjoy smart control.
2. Can Amazon Basics Smart Bulbs work without Alexa?
Yes, you can control them via the Amazon Alexa app, but voice features require an Alexa-enabled device.
3. What Wi-Fi network do I need for Amazon Basics Smart Bulbs?
They require a 2.4 GHz Wi-Fi network. 5 GHz networks are not supported.
4. How do I reset my Amazon Basics Smart Light Bulb?
Turn it off and on rapidly 5 times. On the 6th cycle, it flashes 5 times then twice, indicating reset mode.
5. Can I group multiple Amazon Basics bulbs together?
Absolutely! Grouping makes controlling multiple bulbs in one room much easier with both app and voice commands.